I’ve been growing my own garlic for about 15 years — all from my own bulbs that I harvest from year to year. I don’t remember what possessed me to order my first bulbs from Seeds of Change way back when.
After all, garlic seems a slightly peculiar item to grow when they’re so plentiful and cheap at the grocery store. And even more peculiar to fall in love with. I’m not ashamed to admit it. I get a bigger kick out of growing my garlic than nearly all my other plants put together — and that’s saying something.
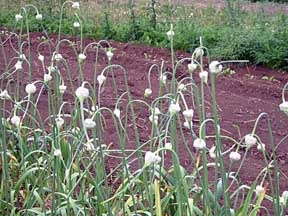
Or maybe it’s because I grow the sweetest, most delicious garlic anyone has ever tasted. Friends and family fight over the bulbs I have to give away. (Actually, I don’t grow the sweetest garlic; my dirt does — but we’ll get to that later.)
No matter the reason, I suppose. Joy is joy in whatever form we find it. And I’d like to share some of that joy with you.
If you think you’d like to try your hand at growing great garlic, the following tutorial should give you enough info to get started.
CHOOSING GARLIC SEED
There are two types of garlic; each offering many varieties. If you live in zone 6 or higher, you’ll want to consider one of the softneck artichoke types (these are the ones most often found in grocery stores). These have a higher yield and a more domesticated flavor. They can also be woven into braids. For those of us in living in zone 5 and lower, we get to select from the hardneck varieties. I’m partial to the Rocambole variety. Because Rocambole is a stiffneck type, it can’t be braided. The bulbs may have a purplish cast and are known for their excellent flavor.
PLANTING GARLIC
While there are two ways to plant garlic: planting cloves from the bulb (one-season harvest) or planting bulbils from the scape (two-season harvest), I’m going to talk about cloves, since most people don’t want to wait two years to get their garlic. In upstate NY, we plant from end of September into mid-October (or about four weeks before you get regular ground freezes). You want to plant early enough for the roots to begin to form but not so early that the top growth will emerge. But don’t overly worry about it; garlic is a very forgiving plant.
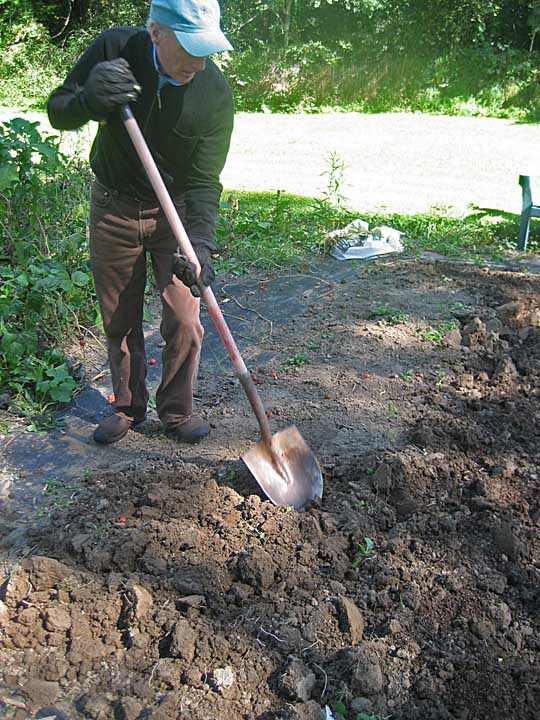
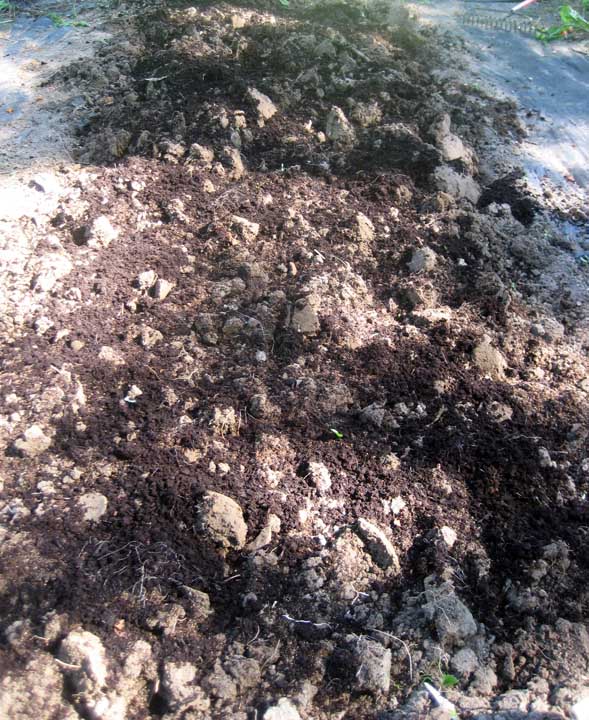
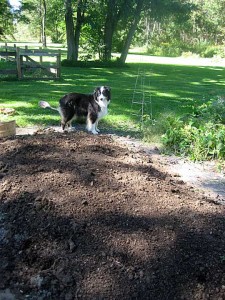
Readying the Soil: After I harvest the summer’s garlic, I loosen the soil (with the help of Andrew), add plenty of compost, and work it in so it will have time to do its magic before I plant the bulbs for next year.
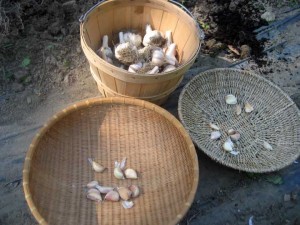
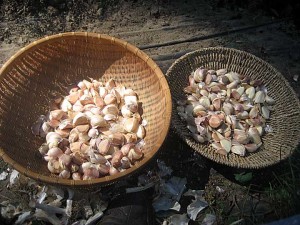
Planting cloves: Pick your largest and most evenly shaped bulbs to save for seed. Just before planting, break apart your seed garlic bulbs into cloves. Pick the largest and firmest cloves to plant. These will yield larger bulbs than planting with the smaller cloves. (Save the smaller cloves for cooking.)
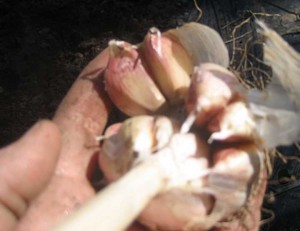
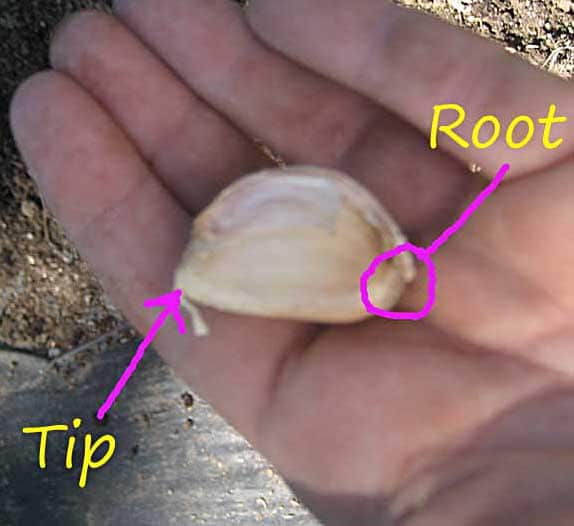
The end of the clove attached to the bulb is the flat root end. The pointier end is the top part of the clove. You’re going to plant each clove with the root-end down.
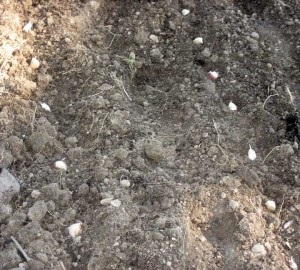
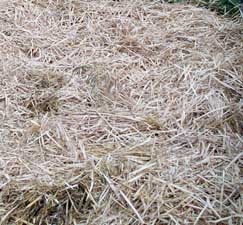
Push each clove into the soil about two inches deep, about six inches apart, in rows about 18-inch apart. In general, the larger the clove you plant, the larger the bulb of garlic you’ll get. Once the bulbs are planted, mulch with a thick layer of straw. This helps even out soil temperatures, protect the garlic from hard winter freezes, and helps to prevent the garlic from getting heaved out of the ground from freeze-thaw cycles. You can remove the mulch in the spring.
STORAGE
Garlic bulbs should not be stored in the refrigerator. The cool temps and humidity cause sprouting. Garlic keeps best between 60/70 degrees, or at room temperature, in a well-ventilated container. Good garlic should keep for months. Bulbs that show softening of any of the cloves should be used immediately or discarded.
HARVESTING GARLIC
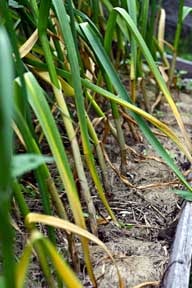
You’ll know when your garlic is ready to harvest by watching the leaves. Here in Upstate NY, they begin to die (turn yellow) in early July . Harvesting is done when the ratio of green to yellow leaves is about 60/40, usually by mid to end of July. Because each leave represents one layer of “paper” wrapping of the garlic, if you let too many leaves die before harvest, you’ll not have enough paper layers left for your garlic to store well. Once pulled, your garlic plants need to be “cured” before they can be stored.
Curing and Cleaning Garlic
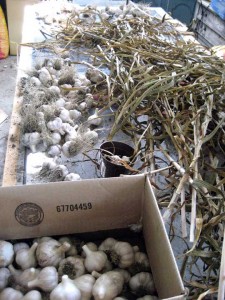
When the wrappers are dry (very white and papery) your garlic is ready to be cleaned and stored. Cut off the stalks leaving about an inch of stem, and trim roots to about 1/4 inch. Remove any dirty outer layers of wrappers(carefully) and brush loose any remaining dirt from the roots. Store your gourmet garlic in mesh or onion bags, paper sacks, or in shallow layers on trays or boxes. Store in a cool, dry, area, but avoid refrigerating homegrown garlic to prevent premature sprouting. Don€™t store bruised or damaged bulbs with the others, instead eat them first. Your delicious and health-filled garlic should last you for several months!
Bon appetite!
FOR MORE INFORMATION

I cut the scapes and cook them. I saute them in olive oil, and some soy sauce. They taste like green beans but more garlicky flavor. Additional treat from growing my own garlic. Most people throw the scapes on the ground.
Hadn’t thought of trying soy sauce. Thanks. Sounds delicious!
After you plant the garlic, do you water it?
Judy, some people water and some don’t. I always try to plant when I know there’s rain in the forecast. So I guess I do water, but I let Mother Nature do the sprinkling for me.
I had never actually seen a garlic plant coming out of the ground before. What a wealth of info you are! We are thinking about starting our first garden next year.
What a great post! I had actually thought of growing garlic a number of times but it seemed very mysterious and difficult. This is the best and most easily understood tutorial on garlic I have read! I may just try it although I don’t have a lot of space is the other thing and have a hard time giving up as much gardening space as we would need for how much garlic we eat!
Just planted mine yesterday!
They’re just so darned useful, aren’t they? And the work required to store them is so minimal compared with tomatoes or other stuff that you have to can.
I love garlic with a passion! I remember going to the Garlic Festival in Gilroy, California as a teenager, where among other things, I ate garlic ice cream! My heart thrills as well at the sight of garlic growing in my garden. The braids I’ve made and hung in my kitchen give me a little thrill every time I look at them. Friends swoon when they receive a bottle of olive oil with garlic cloves suspended throughout….tied in raffia. And, my “Garlic, Ginger, Honey Throat Elixir” is wonderful for chasing away a nasty sore throat. There are few things more gratifying then harvesting the work of the earth…the sun, the soil and your own two hands! And I don’t think you’ve lived until you’ve had some roasted, mellow garlic spread on a crusty baguette! I hope your readers can try growing some of their own garlic, it’s so worth it! Love that Kiera is standing sentinel over the whole process! When I cook raw for the dogs, guess what goes in? Yep, garlic. Great tutorial by the way!
PS. I grow chives just for the pretty purple flowers too, not for the harvest, so there is no accounting for why I grow some things either!
no vampires at your house, huh????